MyCSUEB Help
Final grades must be entered into the MyCSUEB Faculty Center for submission into the Registrar's Office by the established deadline each quarter.
NAVIGATION
- Access MyCSUEB: http://my.csueastbay.edu
- Log in using your NetID and Password.
- At the MyCSUEB Faculty Home page, click the Faculty Center hyperlink.
FACULTY CENTER
- Choose the appropriate quarter.
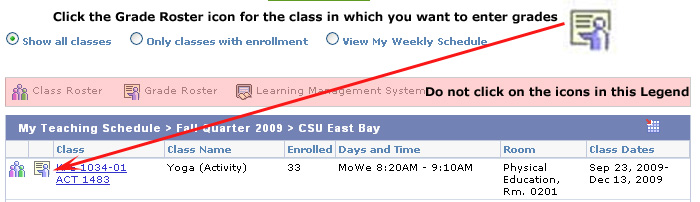
- Click the Grade Roster icon for the class in which you want to enter grades.
Do not click on the icon in the Legend, but on the icon to the left of the class information.
GRADE ROSTER

There is no other option but Final Grade.

You will not be able to change it from "Not Reviewed" to "Approved" until all grades are entered.
- Enter the grade.
Available grades based on the student’s Grading Basis can be found in the Roster Grade drop down box. Click on the down arrow and choose the grade for the student. Go to the
next student on your list.
Or you can apply the same grade to all students by using this:

- Select the grade and then click "add this grade to all students." This grade type will default to the grading basis for the first student on your grade roster.
- "Invalid" will appear for students that do not have the grade you choose. Example: the first student on your grade roster has a grading basis of Letter Grade and any student that has signed up on a credit no/credit basis will return an "invalid" grade.
- Simply go to the student with the "invalid" grade, click on the drop down menu for that student and enter the appropriate grade.
NOTE: When entering a grade of WU, the system requires the student's last date of attendance, if unknown the system will default the date to the census date for the term. If you know the last date of attendance please update the date accordingly.
- Once you have entered a grade of "WU" you must click SAVE, to save the date
- Click SAVE at the bottom of the page when you have entered your grades. You do not have to enter all of your grading at once. You can save your entries and complete it later. You will receive this warning message whenever you save the roster in Not Reviewed status.

- Click OK to close the window.
- Click SAVE again.
- When all grades have been entered, Change the Approval Status to "Approved."
You will receive the following warning if you have missed a grade:
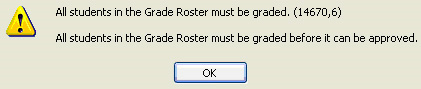
If you get this warning message:
- Click OK,
- Change the Approval Status back to "Not Reviewed",
- Go back and review your grade roster for missing grades,
- Enter the grades and process steps 6 – 9 again (remember to change the Approval Status back to "Approved".
Remember: You will not be allowed to change the final grade roster to Approved if there are grades missing.
- SAVE. You will receive the following message:
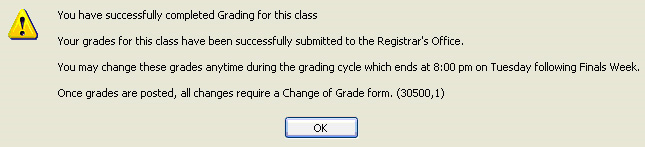
- Click OK and you are done.
CHANGING GRADES
After the grade posting deadline, all changes require a Change of Grade form.
Prior to the submission deadline, grades can be changed in the Faculty Center.
- Change the Approval Status to "Not Reviewed."
- Edit Grades.
- Change the Approval Status to "Approved."
- SAVE.
PRINTING
There are two ways you can view a printable version of your Grade Roster.
Option 1: Click the Printer Friendly Version button at the bottom of the page.

Use your browser’s printer option to print the roster.
Option 2: You can download your roster into MS Excel.
- Hold down the Ctrl key on your keyboard.
- Click the Download icon while holding on to the Ctrl key.
- Release the Ctrl key when you receive the File Download dialog box.
- In MS Excel, go to File > Print to print the roster.
